Revving Up Your Car Battery: How an Electric Motor Powers a 12V Car Battery Charger
If you’re in need of a quick and easy way to charge your car battery, an electric motor can be an excellent option. With just a few simple steps, you can turn your electric motor into a reliable car battery charger that can help you get back on the road and avoid costly trips to the mechanic. In this blog post, we’ll show you how to make a 12v car battery charger using an electric motor, providing you with all the information and guidance you need to get started.
So whether you’re a seasoned DIY enthusiast or just looking for an easy way to keep your car battery charged, read on to learn more!
Introduction
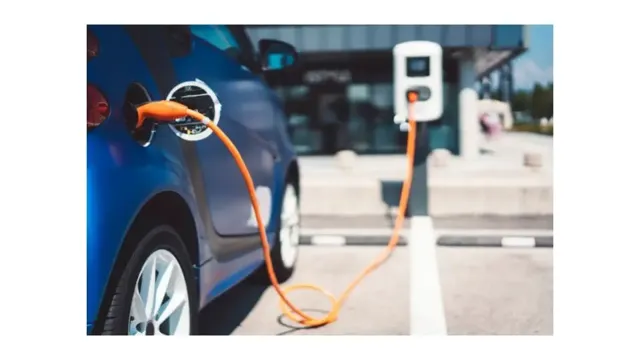
If you’re looking for a convenient and eco-friendly way to charge your car battery, you might want to consider using an electric motor. With a few simple modifications, an electric motor can be turned into a 12V car battery charger that can help you save money and reduce your carbon footprint. To build your own charger, all you need is an electric motor, a rectifier, a diode, and some wires.
Once you have all the materials, the process is quite straightforward. Simply connect the motor to a rectifier that converts the AC voltage to DC voltage, then connect the diode to the output of the rectifier to prevent backflow. Finally, connect the positive and negative leads to your car battery, and you’re good to go.
With this simple setup, you can easily charge your car battery using renewable energy. Plus, you’ll never have to worry about running out of gas or polluting the environment again!
Why Use an Electric Motor?
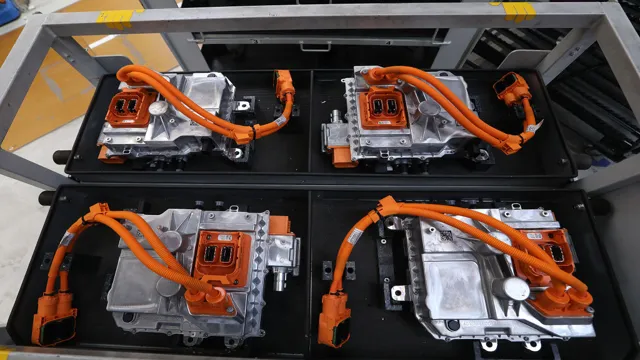
Electric motor Electric motors have become an essential part of modern life, powering everything from household appliances to cars and industrial machinery. One of the main reasons for their widespread use is their efficiency and sustainability, as electric motors convert electrical energy into mechanical energy with very little waste or pollution. They also provide a high degree of control and precision, making them ideal for applications where accuracy and consistency are crucial.
Moreover, electric motors are generally quieter, smoother, and easier to maintain than their gas-powered counterparts, resulting in reduced noise pollution and maintenance costs. With advances in technology and increasing demand for clean energy solutions, electric motors are poised to become even more prevalent in the years to come.

Benefits and Drawbacks
When it comes to any product or service, there are always benefits and drawbacks to consider. The same is true for technologies. Advancements in technology have undoubtedly brought a greater level of convenience, efficiency, and access to information to our lives.
However, it is important to also acknowledge the potential drawbacks, such as the impact on privacy and the risk of dependence on technology. In this blog section, we will explore the advantages and challenges of technology, weighing the benefits and drawbacks to help you make informed decisions about how to integrate technology into your daily life. As we delve deeper, we will see how the benefits of technology can far outweigh the potential drawbacks, creating a more productive and fulfilling world for us all to enjoy.
Gathering Materials
When it comes to building a 12v car battery charger using an electric motor, you need to start by gathering the necessary materials. First and foremost, you will need an appropriate electric motor that can be used as a generator to produce electrical power. A DC motor is typically the easiest and most common option for this application.
You will also need a belt or pulley system to connect the motor to the battery being charged. Additionally, you will need a rectifier, which converts the AC power produced by the motor into DC power that can be used to charge the battery. Make sure to choose a rectifier that has a current rating suitable for the size of the battery you intend to charge.
Finally, you will need some basic tools such as a soldering iron, wire strippers, and pliers to connect all the components together. By gathering these materials, you will be well on your way to building your own 12v car battery charger using an electric motor.
Parts List
Gathering materials is an essential first step when creating any project, and building a DIY computer is no exception. To start, you will need a list of parts, including a motherboard, CPU, RAM, storage, power supply, case, and peripherals. Depending on the computer’s intended use, you might also need a dedicated graphics card or additional cooling components.
One important aspect of gathering materials is making sure all the components are compatible with each other and fit within the chosen case. Researching and comparing options for each part can help ensure maximum performance and value for your budget. It’s important to also consider the availability of the parts, especially if you need them quickly.
Whether online or in-store, shopping around for the best deals is crucial when building a computer from scratch. By taking the time to gather quality materials, you can ensure a smoother build and a computer that suits your needs and desires.
Where to Find Materials
When it comes to finding materials for any project, there are a number of places to look to gather what you need. One great first stop is your local hardware or home improvement store. Here, you can find a wide range of materials like wood, paint, screws, and nails.
Additionally, craft stores often have a variety of materials like fabric, beads, and other small items that can be used in a number of different projects. Another option is to search online marketplaces like Amazon or Etsy for unique or hard-to-find materials. Finally, don’t overlook the opportunity to repurpose items you already have around your home.
An old shirt could be turned into a scarf, or a wooden pallet could become a stylish piece of furniture with a little creativity and some elbow grease. With a little resourcefulness and an open mind, there are plenty of materials out there to bring your creative projects to life!
Putting Together the Charger
If you’re looking to put together a 12V car battery charger using an electric motor, you’ll need to gather a few components. First, you’ll need a 12V battery or power supply to run the motor. You’ll also need an electric motor with a shaft that can fit a pulley or flywheel.
Once you have these basic components, you can begin putting together the charger. Attach the motor to a sturdy base or bracket, and mount the pulley or flywheel onto the motor shaft. Next, connect the pulley or flywheel to a belt or chain, which in turn connects to the alternator on the car engine.
The alternator will generate power and send it back to the battery, charging it up in the process. Be sure to take safety precautions when working with electrical components, and double-check your connections before applying power. With a little know-how and effort, you can put together a reliable 12V car battery charger using an electric motor.
Steps to Build
Putting together the charger is the final step in building your own homemade charger. Once you have gathered all the necessary components, it’s time to start assembling them. First, connect the transformer to the rectifier using the screw terminals.
Make sure the connections are tight. Then, attach the voltage regulator to the rectifier using the same screw terminals. Next, attach the capacitors and diodes.
Finally, connect the output leads to the voltage regulator and test the charger with a voltmeter. If everything is working correctly, you should be able to charge your battery. Remember, safety is crucial when working with electricity, so be sure to take all necessary precautions and double-check all connections before turning the charger on.
Wiring Diagram
The wiring diagram is key to putting together a functional charger. Once you have all your materials, it is time to start wiring the components. First, connect the transformer to the bridge rectifier.
The center terminal of your transformer will connect to the AC side of the rectifier, while the two outer terminals will connect to the positive and negative sides respectively. Next, connect the capacitors, making sure to observe polarity. If you prefer to use a fuse, connect it in between the transformer and the rectifier.
Finally, connect the output of the rectifier to the charging circuit. With a little bit of patience and attention to detail, you should be able to put together your own charger without any problems!
Testing Your Charger
If you’re using a 12v car battery charger using an electric motor, it’s essential to test it regularly to ensure that it’s functioning correctly. One way to test it is to check the voltage output using a voltmeter. Simply connect the positive and negative leads of the voltmeter to the corresponding positive and negative terminals of the charger, and take a reading.
The reading should be around 12 volts, which is the voltage required to charge a 12v car battery. If the reading is significantly lower, you may need to adjust the settings on your charger or replace it altogether. Another way to test your charger is to connect it to a flat battery and monitor its charging progress.
A healthy charger should be able to charge a flat battery within a reasonable time, typically a few hours. If it takes longer, it may indicate that the charger is faulty or inadequate for your needs. Remember to always follow safety precautions when handling electrical equipment and refer to the manufacturer’s instructions for specifics on testing your particular charger.
Safety Precautions
Safety Precautions for Testing Your Charger When it comes to using your electronic devices, safety should always be a top priority. This is especially important when it comes to charging your devices, as a faulty charger can pose a serious risk of electrocution or fire. To ensure that your charger is safe to use, you can perform a few simple tests.
Firstly, inspect the charger itself, checking for any signs of physical damage such as frayed wires or cracks. Additionally, you can use a multimeter to check the voltage and amperage of the charger, ensuring that they match the specifications of your device. It’s also important to make sure that your charger is the correct one for your device, as using the wrong charger can damage your device or even cause it to malfunction.
By taking these simple precautions, you can charge your devices safely and without worry.
How to Test the Charger
Testing your charger is an essential step in ensuring that it is charging your device correctly and safely. To test your charger, start by checking the cable and power brick for any damage or wear and tear. If there are any signs of damage, it is best to replace the charger to avoid any potential safety hazards.
Next, plug in your device and monitor the charging progress. Pay attention to the charging time and how hot the charger and device become. If the charger or device becomes excessively hot, or if the charging time is significantly longer than usual, it may indicate an issue with the charger.
In this case, it is recommended to have the charger checked by a professional to avoid any potential damage to the device or electrical hazards. Overall, regularly testing your charger can help ensure safe and efficient charging of your device, avoiding any unforeseen issues and potential safety risks.
Conclusion
In conclusion, the 12v car battery charger using an electric motor is a brilliant example of how technology can simplify our lives. With just a simple motor, we can charge our car batteries and keep our vehicles running smoothly. It’s amazing to think that something as small as an electric motor can have such a big impact on our daily routines.
So, the next time you’re charging your car battery, take a moment to appreciate the ingenuity behind this little device. And remember, if it weren’t for the electric motor, we might still be cranking our cars by hand!”
FAQs
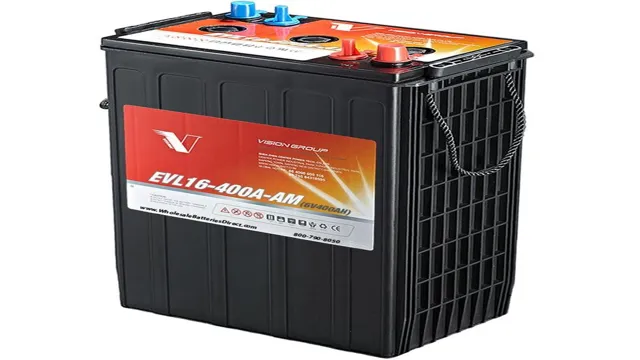
What is a 12v car battery charger?
A 12v car battery charger is a device used to recharge 12-volt car batteries that have discharged or depleted due to long-term usage.
How does an electric motor work in a car battery charger?
An electric motor in a car battery charger converts electrical energy into mechanical energy, which turns a generator that produces the electricity required to recharge the battery.
What are the benefits of using a 12v car battery charger with an electric motor?
Using a 12v car battery charger with an electric motor offers a number of benefits such as improved efficiency, reduced noise level, and a lower carbon footprint compared to other types of battery chargers.
Can a 12v car battery charger using an electric motor be used with other types of batteries?
Yes, some 12v car battery chargers using electric motors are versatile and can be used with other types of batteries such as boat batteries, RV batteries, and ATV batteries with proper voltage adjustment.