Electric Car Charger Home Installation Diagram : Streamline Your Set Up
With the increasing popularity of electric cars, more and more homeowners are considering installing an electric car charger at home. Whether you have just purchased an electric vehicle or are planning to do so in the future, having a dedicated charging station at home can provide convenience and peace of mind. In this comprehensive guide, we will walk you through the process of installing an electric car charger at home and provide a detailed diagram to help you understand the setup.
Why Install an Electric Car Charger at Home?
While some electric car owners rely on public charging stations, having a charging station at home offers several advantages:
- Convenience: You can charge your car overnight while you sleep, ensuring it is always ready for your daily commute.
- Cost Savings: Charging at home is often more cost-effective than using public charging stations.
- Control: You have full control over the charging process and can monitor the energy usage.
- Peace of Mind: You won’t have to worry about finding an available charging station when you need it.
Understanding the Electric Car Charger Home Installation Diagram
Before we delve into the installation process, let’s take a closer look at the electric car charger home installation diagram. The diagram consists of the following key components:
| Component | Description |
|---|---|
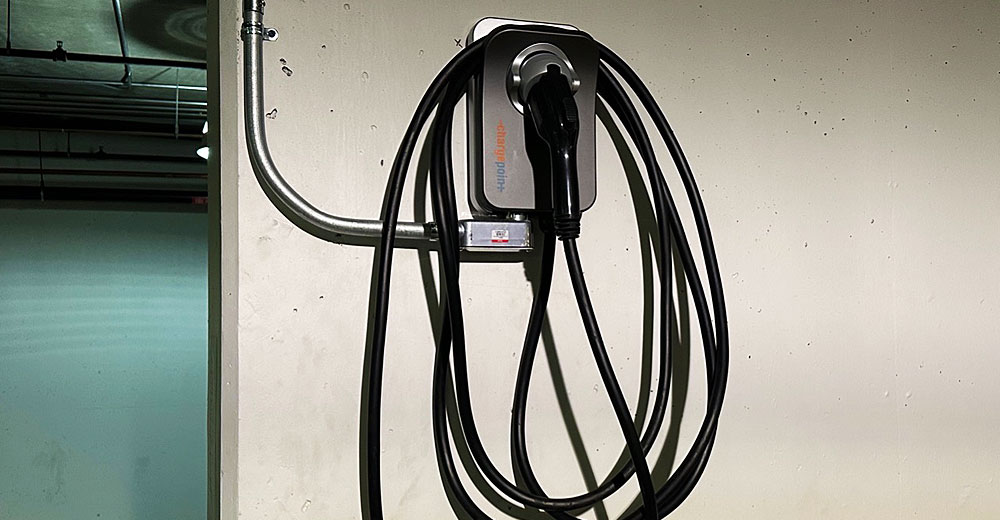
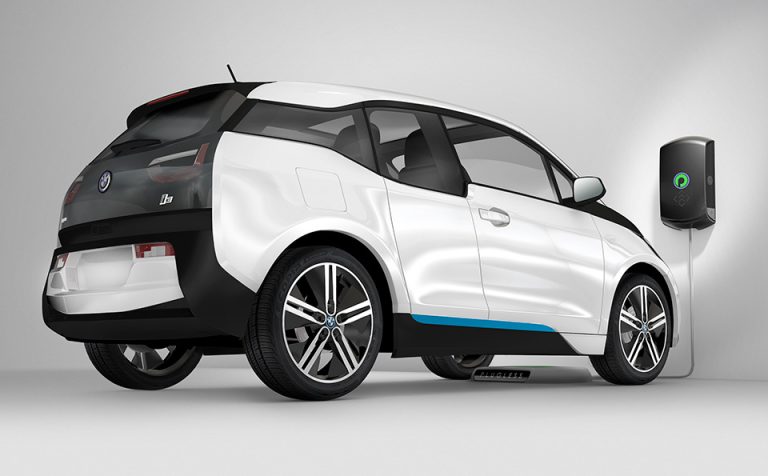
| Electric Car Charger | The main unit that connects to your vehicle for charging. |
| Electrical Panel | Where the power supply for the charger originates. |
| Circuit Breaker | Protects the electrical system from overloads and short circuits. |
| Conduit | Protective tubing that houses the electrical wiring. |
| Power Cable | Connects the charger to the electrical panel. |
| Grounding Rod | Provides a safe path for electrical currents to be redirected in the event of a fault. |
Installation Process
Now that we understand the components involved, let’s walk through the step-by-step process of installing an electric car charger at home:
- Assess Your Electrical System: Start by evaluating your home’s electrical panel to determine if it can support the additional power demand of a car charger. You may need to upgrade your panel or install a dedicated circuit for the charger.
- Locate the Charging Area: Choose a suitable location for the charger, keeping in mind factors such as proximity to your car’s parking spot and accessibility to the electrical panel.
- Install the Conduit: If required, install conduit to protect the electrical wiring between the charger and the electrical panel.
- Mount the Charger: Securely mount the electric car charger in the chosen location, ensuring it is positioned at the correct height and orientation for easy access and use.
- Connect the Power Cable: Connect the power cable from the charger to the electrical panel, ensuring all connections are secure and in compliance with local electrical codes.
- Install the Grounding Rod: If necessary, install a grounding rod to provide a safe path for electrical currents.
- Final Checks: Conduct a thorough inspection of the installation, including testing the charger to ensure it is functioning properly.
Benefits of Professional Installation
While some homeowners may consider installing an electric car charger themselves, it is highly recommended to seek professional assistance. A licensed electrician can ensure that the installation is performed safely and in compliance with all local codes and regulations. Additionally, professional installation can help prevent potential issues and ensure the long-term performance of the charging station.
Credit: myhypergear.com
Conclusion
Installing an electric car charger at home can provide the convenience and peace of mind that every electric vehicle owner desires. By understanding the key components of the installation diagram and following the proper installation process, you can enjoy hassle-free charging from the comfort of your own home.
Remember, when in doubt, always consult with a qualified electrician to ensure a safe and reliable installation.

