Electrify Your Boundaries with DIY Electric Fence Powered by Car Battery!
Have you ever had trouble keeping your livestock in check? Or maybe you just want to keep wild animals away from your property? Traditional fencing can be expensive and time-consuming to install, but have you ever considered an electric fence powered by a car battery? Not only is it a DIY project that can be completed in a weekend, but it’s also an effective and cost-efficient solution. In this article, we’ll walk you through the steps of how to set up your own electric fence using a car battery. By the end, you’ll have the knowledge and confidence to build a fence that protects your property and keeps your animals secure.
Let’s get started!
Introduction
Are you looking for an effective way to keep your animals contained? Look no further than a DIY electric fence powered by a car battery. This method is affordable and easy to set up, especially for those with a background in basic electrical work. Simply connect the car battery to a fence charger and attach the electric fence wire to the poles.
This will create an electrified barrier that will keep even the most tenacious animals within their boundaries. Don’t worry about the safety of your animals either – the shock from the electric fence is merely a discomfort, not harmful. Why spend thousands of dollars on traditional fencing when a DIY electric fence powered by a car battery can do the job just as effectively at a fraction of the cost? Give it a try and see the difference for yourself.
Why electric fence?
Electric fence is a modern and effective method for securing your property, livestock, or crops from unwanted intruders. The idea of using an electric current to stop animals or humans from crossing a boundary may seem harsh, but it is one of the most humane ways of preventing damages and losses. It is also an eco-friendly solution as it eliminates the need for harmful chemicals to deter animals or insects.
Electric fences come in a range of shapes and sizes and can be customized according to your specific needs. With an electric fence, you can have peace of mind knowing that your property is protected from theft or damage. So, what makes electric fence so reliable? Let’s dive in and find out.
Advantages of using car battery
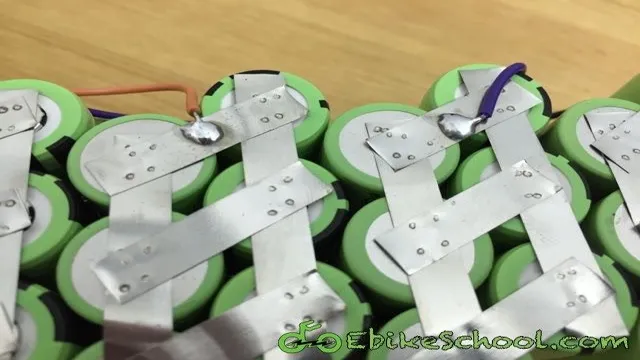
Car battery has become an essential component of vehicles today. With the increase in the use of electronic accessories such as air conditioning, music system, and GPS technologies in cars, the demand for car battery has increased significantly. The car battery is responsible for supplying electrical power to start the engine and operate all electronic accessories.
One of the primary advantages of using car battery is that it helps to ensure your vehicle is always up and running, which is essential for both personal and commercial purposes. A good quality car battery also ensures a hassle-free driving experience, as it reduces the risk of breakdowns and malfunctions. Therefore, investing in a good quality car battery is a wise decision that will help keep your vehicle in top shape.
Materials and Tools
If you’re looking to build a DIY electric fence and are thinking of using a car battery as the power source, it’s important to choose the right materials and tools for the job. Firstly, you’ll need wire fencing specifically designed for electric fences, as standard fencing won’t conduct electricity effectively. Additionally, you’ll need fence posts to support the wire fencing, and connectors to attach the fence to the battery.
You can also opt for a solar-powered charger to keep the car battery charged, but this isn’t strictly necessary. As for tools, you’ll need pliers to tighten and attach the wire fencing to the posts, as well as a voltmeter to test the voltage of the fence once it’s set up. Overall, building a DIY electric fence with a car battery requires a bit of planning and preparation, but it can be a cost-effective solution for keeping animals contained.
Just remember to follow safety precautions when working with electricity and always use protective gear.
List of materials
When it comes to crafting and DIY projects, having the right materials and tools is crucial to success. For most basic projects, you’ll likely need a hammer, screwdrivers, pliers, measuring tape, and a level. Other essential tools include a drill, circular saw, jigsaw, and a power sander.
In terms of materials, wood is a popular choice for many projects. Other materials may include screws, nails, paint, and sandpaper. Don’t forget safety equipment, such as gloves, eye protection, and a dust mask.
Before starting any project, be sure to gather all of the necessary materials and tools to ensure a successful outcome. By having all the right materials and tools at your disposal, you’ll be well on your way to creating something amazing.
List of tools
When it comes to do-it-yourself (DIY) projects, there are a variety of tools and materials that are necessary to get the job done right. Some of the basic tools that every DIYer should have in their arsenal include a hammer, screwdrivers, measuring tape, and pliers. Power tools, such as drills, saws, and sanders, can also be helpful for larger and more complex projects.
In addition to tools, it’s important to have the right materials on hand, such as screws, nails, lumber, and paint. Don’t forget safety gear like gloves, goggles, and ear protection. With a basic set of tools and materials, it’s possible to tackle a wide range of DIY projects, from simple repairs to complete home renovations.
So, if you’re looking to get started on your next DIY endeavor, be sure to build up your toolkit and stock up on the supplies you need to bring your project to life.
Setting Up the Electric Fence
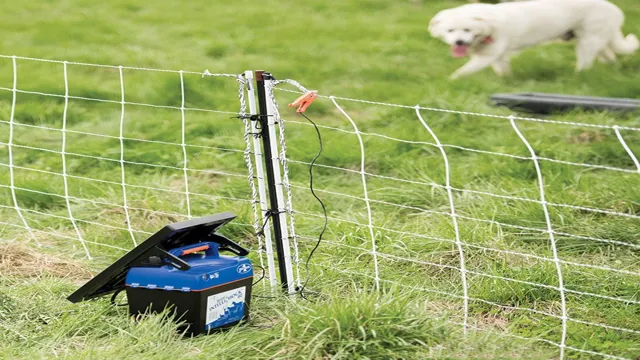
If you’re looking to set up an electric fence but don’t want to spend a lot of money, you can create one yourself using a car battery. This DIY project is relatively simple and can save you a lot of money in the end. The first thing you’ll need to do is make sure you have the right materials.
You’ll need an electric fence energizer, a car battery, a charger, and an insulator. Once you have everything, you can connect the energizer to the car battery and then to the fence itself. The charger will then keep the battery charged, ensuring that the fence stays powered.
When setting up the fence, make sure you take the time to properly insulate everything to prevent any potential electric shocks. With a little bit of time and patience, you can have a functional DIY electric fence for your property without having to break the bank. So why not give it a try and see how it works for you?
Installing the posts
Setting up your electric fence requires careful consideration and planning to ensure its effectiveness. It starts by installing the posts which should be spaced evenly apart, depending on the length of the fence. To install them, you’ll need a post-hole digger and a level to ensure they’re vertically aligned.
The depth of the holes should be at least a third of the post’s height, and you’ll need to pack it tightly with soil to keep it firmly in place. Once the posts are in, you can then start wiring the fence’s strands, starting with the bottom strand and working your way up. Ensure each strand is tight and tensioned by using the appropriate tools like a wire strainer.
Remember to connect wires to a power source, and switch it on to ensure all wires are live. By following these simple yet crucial steps, your electric fence will be up and running in no time, providing you with adequate security. Remember, safety should be your top priority while setting up an electric fence to avoid any accidents and hazards.
Mounting the charger
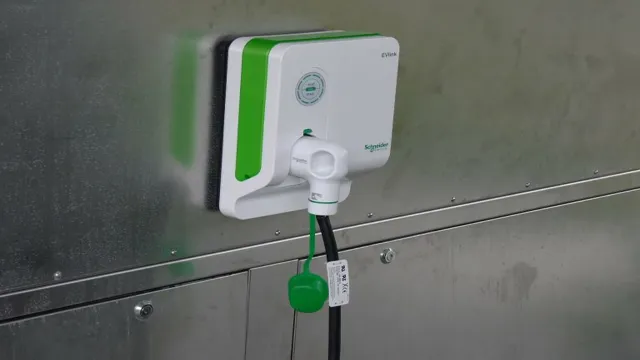
Setting up the electric fence can seem like a daunting task, but with the right tools and knowledge, it is a relatively straightforward process. One crucial step in the process is mounting the charger. The charger is the device that powers and electrifies the fence and is typically mounted on a wall or post near an electrical outlet.
It is essential to choose a location for the charger that is sheltered from the elements, such as rain or snow, to avoid damage and ensure longevity. Once you’ve chosen a suitable location for the charger, it’s time to install it. Typically, chargers come with pre-drilled holes for mounting, and with a few screws, the charger can be securely mounted to the chosen surface.
Once mounted, it’s time to connect the charger to the fence, typically done through wires and connectors, ensuring a tight and secure connection. Finally, plugging in the charger and testing the fence’s conductivity completes the installation. With the charger securely mounted, your electric fence is now ready to deter any unwanted intruders and keep your property safe.
Wiring the charger and battery
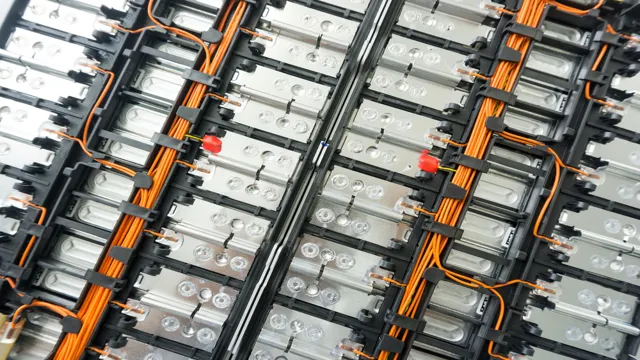
When it comes to setting up your electric fence, wiring the charger and battery is a crucial step that you shouldn’t overlook. A charger is responsible for powering your electric fence and keeping it functioning effectively. You’ll need to connect it to a reliable battery to ensure uninterrupted power supply to the fence.
It’s best to use a deep-cycle battery as it’s specifically designed to handle slow discharges over long periods. Before wiring the charger and battery, read the manufacturer’s instructions carefully to ensure you do it correctly. You’ll also need to take into account the distance between the charger and the battery, as well as the length of the cable and the thickness of the wiring required.
Another vital consideration is ensuring the charger is connected to a ground rod to protect your fence from lightning strikes. When installed correctly, your electric fence will keep unwanted animals out of your property and give you peace of mind.
Testing and Troubleshooting
If you’re looking for a cost-effective solution to power your electric fence, a car battery can be a great option. However, before you jump into DIY mode, make sure you test and troubleshoot your setup to avoid any potential risks. First, check the voltage of your battery to ensure it’s fully charged and has enough power to run your fence.
You’ll also need to consider the type and length of wire you’re using, as well as the grounding system, which should be in good condition to prevent power loss. Once you’ve set up your fence, it’s important to continually monitor it for faults or issues, such as dry brush or damaged wires, which can disrupt the circuit and reduce its effectiveness. Don’t forget to safety proof your setup to keep both humans and animals away from the fencing, and always follow manufacturer guidelines and local regulations to ensure you’re using your electric fence safely and responsibly.
By following these tips and taking the time to test and troubleshoot your setup, you can enjoy a reliable, effective, and safe electric fence powered by your trusty car battery.
Testing the fence
Testing and troubleshooting are necessary steps when it comes to ensuring the effectiveness of a fence. While putting up a fence, it’s important to make sure that it can do its job and keeps unwanted intruders out. This is why testing the fence after installation is essential.
One way to test a fence is to apply pressure on it and see if it can withstand it. This can be done by pushing on the fence with increasing force, checking for any loose or shaky parts. Checking if the fence can support the weight of a person is also a good way to test its strength.
Additionally, inspecting the fence regularly after installation is important as parts may come loose over time. Troubleshooting is also necessary if issues with the fence arise. This can include fixing any loose pieces or repairing holes, ensuring that the fence is still in good working order.
With proper testing and troubleshooting, a fence can effectively do its job of keeping your property safe and secure.
Common issues and solutions
When it comes to testing and troubleshooting, there are a few common issues that can arise. One of the most prevalent is connectivity problems. This can be caused by a faulty cable or a weak wireless signal.
To resolve this, try swapping out the cable or moving closer to the router. Another issue that can occur is slow performance. This can be a result of overloaded devices or network congestion.
To fix this, try disconnecting some apps or devices and optimizing network settings. Software errors are also a common problem, which can lead to crashes or malfunctions. To address this, update software and drivers regularly and run system checks.
By addressing these common issues and troubleshooting solutions, you can ensure that your system is running smoothly and efficiently.
Conclusion
In conclusion, creating a DIY electric fence powered by a car battery is certainly a shockingly innovative idea. While it may not be the most traditional method, it certainly gets the job done. Just be sure to use caution and always follow safety guidelines to avoid any unwanted sparks or zaps.
With this setup, you’ll be able to keep those pesky critters away from your garden or livestock and prove that when it comes to electric fencing, you’re the one in charge. So go ahead and give it a try – you may just shock yourself with how effective and fun this project can be!”
FAQs
Can I use a DIY electric fence powered by a car battery?
Yes, you can. In fact, many people use a car battery to power their DIY electric fences because it is convenient and affordable.
What materials do I need to build a DIY electric fence powered by a car battery?
You will need an electric fence charger, insulators, posts, and wire. In addition, you will need a car battery and a way to connect it to the charger.
How do I connect a car battery to an electric fence charger?
You will need to purchase a battery lead wire with alligator clips. Connect the red clip to the positive (+) terminal on the battery and the black clip to the negative (-) terminal on the charger.
Is it safe to use a car battery to power an electric fence?
Yes, as long as you follow safety precautions and use the proper materials. Be sure to handle the battery with care and keep it away from children and pets.