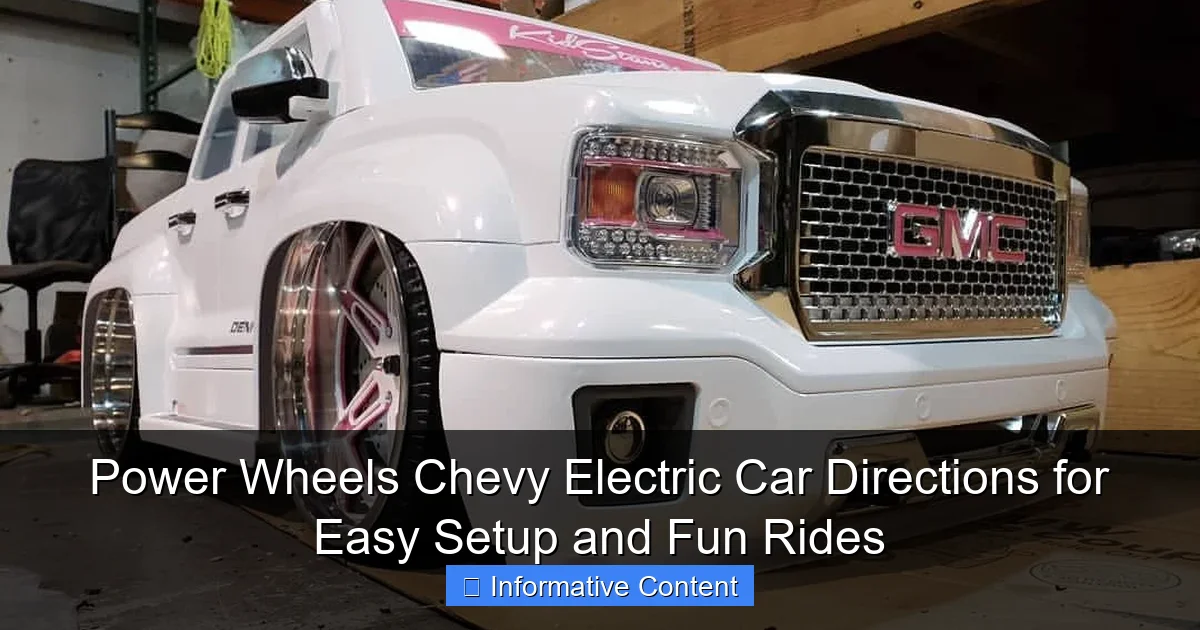
Power Wheels Chevy Electric Car Directions for Easy Setup and Fun Rides
Featured image for power wheels chevy electric car directions
Image source: i.pinimg.com
Setting up your Power Wheels Chevy electric car is quick and hassle-free with the included step-by-step directions, ensuring your child is ready for action in under 30 minutes. From battery installation to safety checks, the clear, illustrated guide makes every step foolproof, so you can focus on fun, not frustration. Perfect for parents who want reliable performance and endless backyard adventures with zero guesswork.
Key Takeaways
- Read the manual first: Always review the instructions before assembling your Power Wheels Chevy.
- Charge fully before use: Ensure the battery reaches full capacity for longer ride times.
- Secure all screws tightly: Double-check bolts and connections to prevent mid-ride malfunctions.
- Test drive in a safe zone: Start in an open, flat area to gauge speed and controls.
- Use parental controls wisely: Adjust speed settings to match your child’s riding experience.
- Inspect tires and brakes: Regularly check for wear to maintain optimal performance and safety.
📑 Table of Contents
- Why Power Wheels Chevy Electric Cars Are a Must-Have for Kids
- Unboxing Your Power Wheels Chevy: What to Expect
- Step-by-Step Assembly Guide: Putting It All Together
- Operating Your Power Wheels Chevy: Safety and Fun
- Troubleshooting Common Power Wheels Chevy Issues
- Enhancing the Ride: Upgrades and Customizations
- Final Thoughts: Making Every Ride a Memory
Why Power Wheels Chevy Electric Cars Are a Must-Have for Kids
Remember the first time you got behind the wheel of a car? The thrill of gripping the steering wheel, pressing the gas, and feeling the rumble beneath your feet? Now imagine giving your child that same excitement—but in a safe, controlled, and downright adorable way. That’s exactly what the Power Wheels Chevy Electric Car delivers. These battery-powered ride-ons are more than just toys; they’re a rite of passage for little adventurers, offering a taste of independence while building motor skills, confidence, and hours of outdoor fun.
But here’s the catch: as any parent who’s ever faced a mountain of parts and a cryptic instruction manual knows, setting up a Power Wheels Chevy can feel like decoding a secret language. Worse, a misstep in assembly or maintenance can lead to frustrating breakdowns or safety concerns. Whether you’re a first-time buyer or a seasoned parent upgrading your child’s ride, this guide will walk you through every step—from unboxing to troubleshooting—to ensure your kid’s first “car” is a smooth, safe, and unforgettable experience. Let’s dive into the Power Wheels Chevy Electric Car directions to make setup easy and rides even better.
Unboxing Your Power Wheels Chevy: What to Expect
First Impressions and Initial Setup
When your Power Wheels Chevy arrives, it’s like Christmas morning—but with more cardboard and fewer surprises. Most models come in a large, heavy box with the car body pre-assembled, but key components (wheels, battery, steering wheel, and accessories) are detached. Before you start, clear a workspace—ideally a garage or driveway—with at least 10 feet of space. Lay out all parts on a clean surface and cross-check them against the manual’s inventory list. Missing a screw or a fender? Contact the manufacturer immediately. Pro tip: Take photos of each step as you assemble. It’ll save you hours if you need to disassemble later for storage or repairs.

Visual guide about power wheels chevy electric car directions
Image source: images.offerup.com
Tools You’ll Need (and What’s Included)
Here’s the good news: Power Wheels Chevy kits include most tools you’ll need. Typically, you’ll find:
- A small Phillips-head screwdriver (for attaching wheels and steering wheel).
- An Allen wrench (for the battery compartment and axle nuts).
- Zip ties (to secure wires).
But don’t rely on the included tools alone. A cordless drill with a Phillips bit speeds up wheel installation, and a socket wrench set helps tighten axle nuts more securely. Avoid over-tightening—snug is perfect. Also, keep a pair of scissors handy to cut zip ties and packaging.
Battery Installation: The Heart of the Ride
The 12V or 6V battery (depending on your model) is the star of the show. Here’s how to install it safely:
- Open the battery compartment (usually under the seat or hood).
- Connect the red wire to the positive (+) terminal and the black wire to the negative (-) terminal. Double-check polarity—reversing them can damage the motor.
- Secure the battery with the included strap or bracket.
- Close the compartment and test the power switch.
💡 First-charge rule: Charge the battery for 18–24 hours before the first use, even if the manual says 12 hours. This ensures maximum capacity and lifespan. Use only the charger provided—third-party chargers can overheat the battery.
Step-by-Step Assembly Guide: Putting It All Together
Attaching the Wheels and Axles
Wheels are the most time-consuming part, but they’re also critical for safety. Here’s the process:
Visual guide about power wheels chevy electric car directions
Image source: globaldiecastdirect.com
- Slide the front axle through the wheel hub (ensure the tread pattern faces outward).
- Secure with a washer and cotter pin (or axle nut, depending on the model).
- For rear wheels, attach the drive axle (connected to the motor) and repeat.
- Spin each wheel by hand to check for wobbling. If it wobbles, re-tighten the axle nut or cotter pin.
⚠️ Safety tip: Never skip the cotter pin—it prevents the wheel from flying off during sharp turns. If your model uses a nut instead, apply a drop of thread locker (like Loctite) to prevent loosening.
Installing the Steering Wheel and Dashboard
The steering wheel often comes with a separate horn button, lights, or a pretend radio. To install:
- Align the steering wheel with the shaft (look for a flat spot on the shaft to match the wheel’s keyway).
- Push it down firmly and secure with the included bolt or screw.
- Connect any wires (e.g., horn) to the dashboard harness. Match colors—red to red, black to black.
Pro tip: If the steering feels stiff, add a drop of lubricant (silicone spray or white lithium grease) to the steering column.
Final Checks Before Powering On
Before your child takes their first spin, do a safety sweep:
- Test the brakes: Press the pedal (or release the accelerator) to ensure it stops smoothly.
- Check wire routing: No wires should be pinched or rubbing against moving parts.
- Verify tire pressure: Inflate to 20–25 PSI (use a bike pump with a pressure gauge).
- Confirm seatbelt functionality: Buckle and unbuckle it 3–4 times to ensure it locks.
📌 Real-world example: A friend once skipped the tire pressure check and ended up with a flat rear tire after just 10 minutes of riding. Always inflate tires—even if they look fine!
Operating Your Power Wheels Chevy: Safety and Fun
Starting the Car and Understanding Controls
Power Wheels Chevy models typically have two speed settings (2.5 mph and 5 mph) and reverse. Here’s how to use them:
- Low speed: Ideal for beginners and tight spaces (e.g., sidewalks).
- High speed: For open areas like driveways or parks (supervise closely).
- Reverse: Activated by a switch or pedal. Teach kids to look behind them before reversing.
The accelerator is a pedal—press to go, release to stop. Some models have a “parental speed lock” (a key or switch) to limit high-speed use. Use it until your child masters steering and braking.
Safety Rules Every Parent Should Know
These cars are safe, but accidents happen. Follow these rules:
- Helmets first: Even at low speeds, a fall can cause injury. Pair with knee/elbow pads for rough terrain.
- Supervise always: Kids under 5 need adult oversight. Older kids should ride in visible areas.
- Terrain matters: Stick to flat, smooth surfaces. Avoid hills, gravel, or wet grass—the car can tip or lose traction.
- No passengers: Most models are designed for one rider. Overloading strains the motor and brakes.
💬 “My daughter flipped her Power Wheels in a puddle,” a parent told me. “She was fine, but the lesson stuck: dry pavement only!”
Maintenance Tips for Long-Lasting Fun
To keep your Chevy running for years:
- Charge after every use: Never store a discharged battery. Recharge for 12–14 hours.
- Clean regularly: Wipe down the body with a damp cloth. Avoid pressure washers—they can damage electronics.
- Lubricate moving parts: Apply grease to axles, steering joints, and pedal hinges every 3 months.
- Inspect monthly: Check for loose screws, worn tires, or frayed wires.
🔧 Quick fix: If the car won’t start, check the battery connection first. Loose wires are the #1 cause of power issues.
Troubleshooting Common Power Wheels Chevy Issues
The Car Won’t Start or Move
If your Chevy is dead, don’t panic. Try these fixes:
- Check the battery: Use a multimeter to test voltage (12V batteries should read 12.6V+). If low, recharge.
- Inspect the fuse: A blown fuse (usually in the battery compartment) stops power. Replace with an identical 20A or 30A fuse.
- Test the foot pedal: A faulty pedal won’t send power to the motor. Bypass it temporarily by connecting the two wires (with the car off!). If it moves, replace the pedal.
📊 Data Table: Common Starting Issues and Solutions
| Issue | Likely Cause | Solution |
|---|---|---|
| Car doesn’t power on | Dead battery or loose connection | Recharge battery; tighten terminals |
| Motor hums but wheels don’t spin | Broken axle or stripped gears | Replace axle or gear housing |
| Speed is inconsistent | Worn brushes in motor | Replace motor brushes or entire motor |
Speed or Performance Problems
Slow speeds or jerky motion often point to:
- Low battery charge: Recharge fully. A half-charged battery can’t deliver peak power.
- Dirty motor brushes: Remove the motor cover and clean carbon dust with a dry toothbrush.
- Worn tires: Bald tires lose traction. Replace if tread depth is under 1/8 inch.
⚠️ Warning: Never use WD-40 on motor parts—it attracts dust and gums up gears. Use electrical contact cleaner instead.
Steering and Brake Fixes
Steering issues are usually due to:
- Misaligned wheels: Loosen the axle nut, straighten the wheel, and re-tighten.
- Worn steering linkage: Replace the plastic steering rod if cracked or bent.
For brakes, if the car rolls when stopped:
- Adjust the brake cable: Tighten the nut at the brake pedal (don’t over-tighten).
- Replace brake pads: If the pads are thin or glazed, swap them for new ones.
Enhancing the Ride: Upgrades and Customizations
Performance Upgrades for Older Kids
As your child grows, consider these upgrades:
- Higher-capacity battery: Swap a 6V for a 12V battery (check compatibility first). Speed increases to 6–7 mph.
- LED light kit: Add headlights or underglow lights for nighttime rides.
- Sound system: Install a Bluetooth speaker or a horn with realistic engine noises.
⚠️ Note: Modifications may void the warranty. Consult the manual before making changes.
Fun Customizations for a Unique Look
Make the car stand out with:
- Decals and wraps: Use waterproof vinyl for racing stripes or superhero themes.
- Paint: Spray paint the body with automotive-grade paint (disassemble first).
- Accessories: Add a spoiler, license plate holder, or even a “gas cap” (a plastic bottle cap).
🎨 DIY project: Turn the trunk into a “cargo bed” with a removable wooden crate. Kids love loading it with toys!
Storage and Winter Care
To protect your investment:
- Store indoors: Keep it in a dry, temperature-controlled area. Cold weather damages batteries.
- Remove the battery: If storing long-term, charge it to 50% and check every 3 months.
- Cover it: Use a breathable fabric cover to prevent dust buildup.
❄️ “I left my Power Wheels in the garage all winter,” a parent shared. “The battery died, but a replacement was cheaper than a new car!”
Final Thoughts: Making Every Ride a Memory
The Power Wheels Chevy Electric Car isn’t just a toy—it’s a gateway to adventure, confidence, and family bonding. From the first unboxing to the last ride, every step shapes your child’s experience. By following these Power Wheels Chevy Electric Car directions, you’ll avoid common pitfalls, extend the car’s lifespan, and ensure every spin is safe and joyful. Remember: the best upgrades aren’t performance parts—they’re the memories you create together. Whether it’s a backyard race, a “road trip” to the mailbox, or a pretend grocery run, these moments matter.
So charge that battery, double-check the brakes, and let your little driver hit the “road.” With the right setup and care, their Power Wheels Chevy will deliver years of smiles, giggles, and the pure, simple joy of being behind the wheel. After all, isn’t that what childhood is all about?
Frequently Asked Questions
How do I assemble the Power Wheels Chevy Electric Car?
Follow the step-by-step instructions in the included manual, focusing on attaching the wheels, steering column, and battery compartment securely. Ensure all screws are tightened and electrical connectors are properly snapped in place before use.
Where can I find the Power Wheels Chevy Electric Car directions if I lost the manual?
You can download a PDF copy of the directions from the official Power Wheels website using the model number (usually located under the car or on the battery). Alternatively, customer support can email you a replacement manual.
How long does the battery take to charge before the first ride?
The initial charge typically takes 12–18 hours using the included charger to maximize battery life. Avoid overcharging, as it may reduce long-term performance.
What’s the best way to operate the Power Wheels Chevy Electric Car for smooth rides?
Start in low-speed mode for beginners and use the foot pedal gently to accelerate. Always supervise children and ensure they wear helmets for safety.
How do I troubleshoot if the car won’t move after setup?
Check if the battery is fully charged, connections are secure, and the power switch is on. Test the foot pedal and ensure the shifter is in “forward” or “reverse” mode.
Can I adjust the speed settings on the Power Wheels Chevy Electric Car?
Yes, most models feature a high/low-speed switch under the seat or dashboard. Use the low-speed setting (2.5 mph) for younger kids and high-speed (5 mph) for older children.